Introduction
Has the once-pristine paint on your beloved wooden furniture suffered the unfortunate fate of chipping? Despair not, for you hold the power to restore its former glory. With the right know-how and a touch of care, you can transform those unsightly blemishes into mere memories. This comprehensive guide will equip you with the knowledge and step-by-step instructions to fix chipped paint on wood like a seasoned professional.
Image: www.reddit.com
Understanding Chipped Paint: A Tale of Wear and Tear
The story of chipped paint on wood begins with the passage of time and the relentless forces of everyday use. As furniture endures daily wear and tear, the delicate bond between the paint and the wood can weaken, leading to unsightly chips and cracks. However, these imperfections are not simply cosmetic; they can also lead to more extensive damage if left unattended.
The Art of Touching Up Chipped Paint: A Step-by-Step Guide
Fear not, for fixing chipped paint on wood is a relatively straightforward endeavor that can be accomplished with a few essential tools and a steady hand. Let’s delve into the steps involved:
Step 1: Assemble Your Toolkit
Gather the following tools: a fine-grit sandpaper or sanding sponge, a clean cloth, a small brush or artist’s palette knife, wood filler (optional), and paint that matches the original finish.
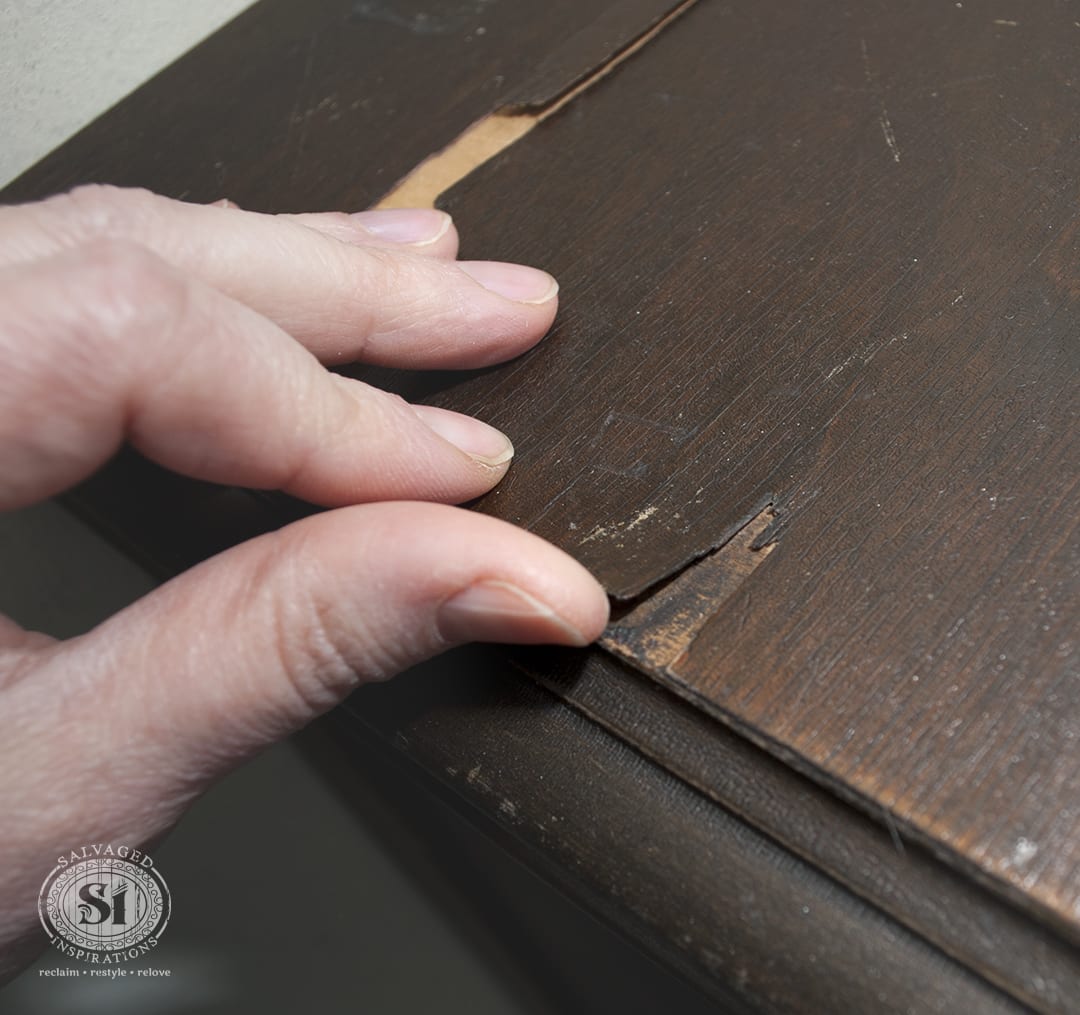
Image: www.step-hen.com
Step 2: Prepare the Damaged Area
Smooth the chipped area using the sandpaper or sanding sponge. Be gentle to avoid damaging the surrounding paint. Wipe away any dust with the clean cloth.
Step 3: Fill in the Chips (Optional)
If the chips are deep, consider using wood filler to create a level surface. Apply it sparingly using the brush or palette knife and allow it to dry completely according to the manufacturer’s instructions.
Step 4: Apply the Matching Paint
Dip the brush or palette knife into the matching paint and apply it to the chipped area. Use thin, even strokes and allow each layer to dry before applying another.
Step 5: Sand and Polish (Optional)
Once the paint is dry, use the sandpaper or sanding sponge to gently smooth the repaired area. If desired, follow up with a polishing cloth to restore the shine.
Expert Insights: Tips for a Flawless Finish
“The key to a seamless repair is proper preparation,” advises master craftsman Tom Williams. “Always clean the chipped area thoroughly and sand it lightly to create a good bonding surface for the new paint.”
Interior designer Sarah Jones emphasizes the importance of using high-quality paint that matches the original finish. “Invest in a small sample before purchasing a larger quantity to ensure a perfect color match.”
How To Fix Chipped Paint On Wood
Conclusion
With the insights provided in this comprehensive guide, you are now equipped to tackle chipped paint on wood with confidence. Remember, the key to a successful repair lies in patience, precision, and using the right tools and materials. Whether you’re restoring a family heirloom or giving a new lease on life to a beloved piece of furniture, these techniques will empower you to transform chipped paint into a thing of the past.
Don’t hesitate to reach out to professionals if you encounter any difficulties or if the damage is extensive. With a little practice, you’ll be amazed at how easy it is to fix chipped paint on wood and restore your furniture to its original beauty.
